top of page
Test Pitch
Test Pitch
PitchTest is used before we try and produce any Lenticular Image as a test of the way the LPI needs to be re-interpretated in a way our printer can print and will be aligned to where the lenses are.
Test Pitch
We started of by conducting Pitch Test to determine the exact lpi (lines per inch) of the lenticular sheets that we have. When placed under the lenticular lens, the correct pitch will appear solid (black or white), while incorrect ones will look misaligned. These are the settings:

Starting lenses per inch, lpi
This is the LPI stated by the manufacturer, in our case it is 32lpi.
Step of lenses per inch, lpi
This is the step of frequency increase for next strip. A value of 0.1 is best to start with. This will produce a series of strips on the print with small lines printed with increasing frequency.
Width of strips, cm;
Width of lenticular sheet
Height of strips, cm;
The length of the small lines to be printed in horizontal strips, we set at 1cm.
Gaps between strips, cm;
The gaps between each row of small lines.
Number of strips, cm;
We set as 10

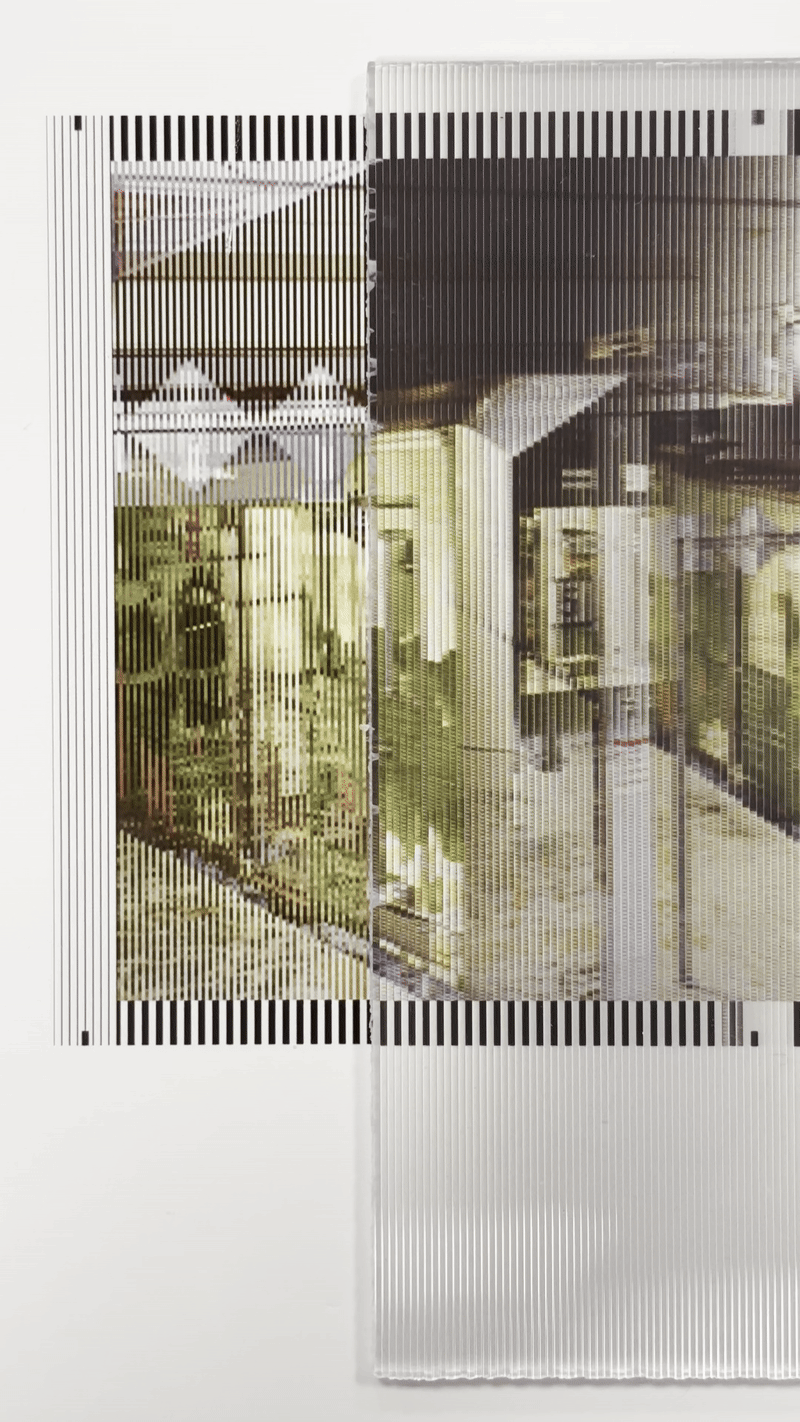
Printed Test Print Pitch
Findings
We found that our lenticular sheet shows best result at 31.50000lpi. Turns out when Ivan did his own test was 31.64lpi. Our small sheets were from his large sheet, close enough 31.6lpi.

31.5 lpi test print shows a white solid when the lens were placed on top of it
Grape
grape
Grape is an interlacing software that can be used to create lenticular prints.
Adobe After Effects
We started of by creating some basic animation in Adobe After Effects. I did 2 different shape animations, one at 300dpi and the other at 600dpi. Once done, the images are exported into a jpg sequence, all the frames are exported and saved as jpg.


After Effects to Grape
We then used Grape software to create an interlaced image, Grape needs a set of parameters to start a job. Once the job is submitted, Grape opens a dialog for choosing the sequence folder. The sequence image is opened. The interlaced image is saved in 'tif' format.

Grape job parameters


Grape tif outputs
600dpi vs 300dpi
I also tested 300DPI vs 600DPI. I preferred printing at 300dpi. As I only have 2 frames, this simple flip animation has more clarity and visibility. 300dpi has lower resolution as compared to 600dpi. The frames start to blend together at 600dpi as there are fewer available line per frame.

tif output
Left to right animation
Left to right vs Right to left
I also tried left-to-right vs right-to-left direction.
Left-to-Right Flip → The image changes as the viewer moves their head from left to right.
Right-to-Left Flip → The image changes as the viewer moves their head from right to left.
Left to right flip seems more natural as our eyes are used to reading from left to right as compared to perhaps traditional Chinese characters.

"You just need to ask the printer shop to print for you at 600DPI, I always do it"
"Okay, we use this picture to request them"
"hehe? not hehe because it started raining"
Using Grape Interlacing Software was a fun experience in understanding the technical precision behind lenticular print. One of the key takeaways was the importance of pitch testing, ensuring that the lenticular sheet’s lpi matches the interlaced image for a seamless effect. While 300 DPI worked best for simple flip effects with 2-3 frames, 600 DPI offered greater detail, making it ideal for more complex animations. This is something I can definitely consider for the final lenticular prints for submission.
Stereograph
Stereograph
We can also use photoshop to create lenticular prints. This can be done by creating a mask pattern.
Mask Pattern Template
We started of by creating a 10 x 10 pixel mask fill template.
Instruction Steps:
1. 10 x 10 pixel file (72 dpi) on photoshop
2. Turn on Pixel Grid (View>Show>Pixel Grid)
3. Fill layer black
3. Select 2 rows of pixels from the top and delete
4. Select all and define as pattern 1 (Edit>Define Pattern
5. Fill layer black
6. Move down to the next 2 rows of pixels and delete
7. Select all and define as pattern2.
8. Repeat the steps(move down by 2 rows) and save as pattern 3, 4 & 5.

Stereograph gif
We went around school to take pictures of an object. It is the time of the year again when your mind is full of studio stuff. I had to do studio-related stereograph gif of course.
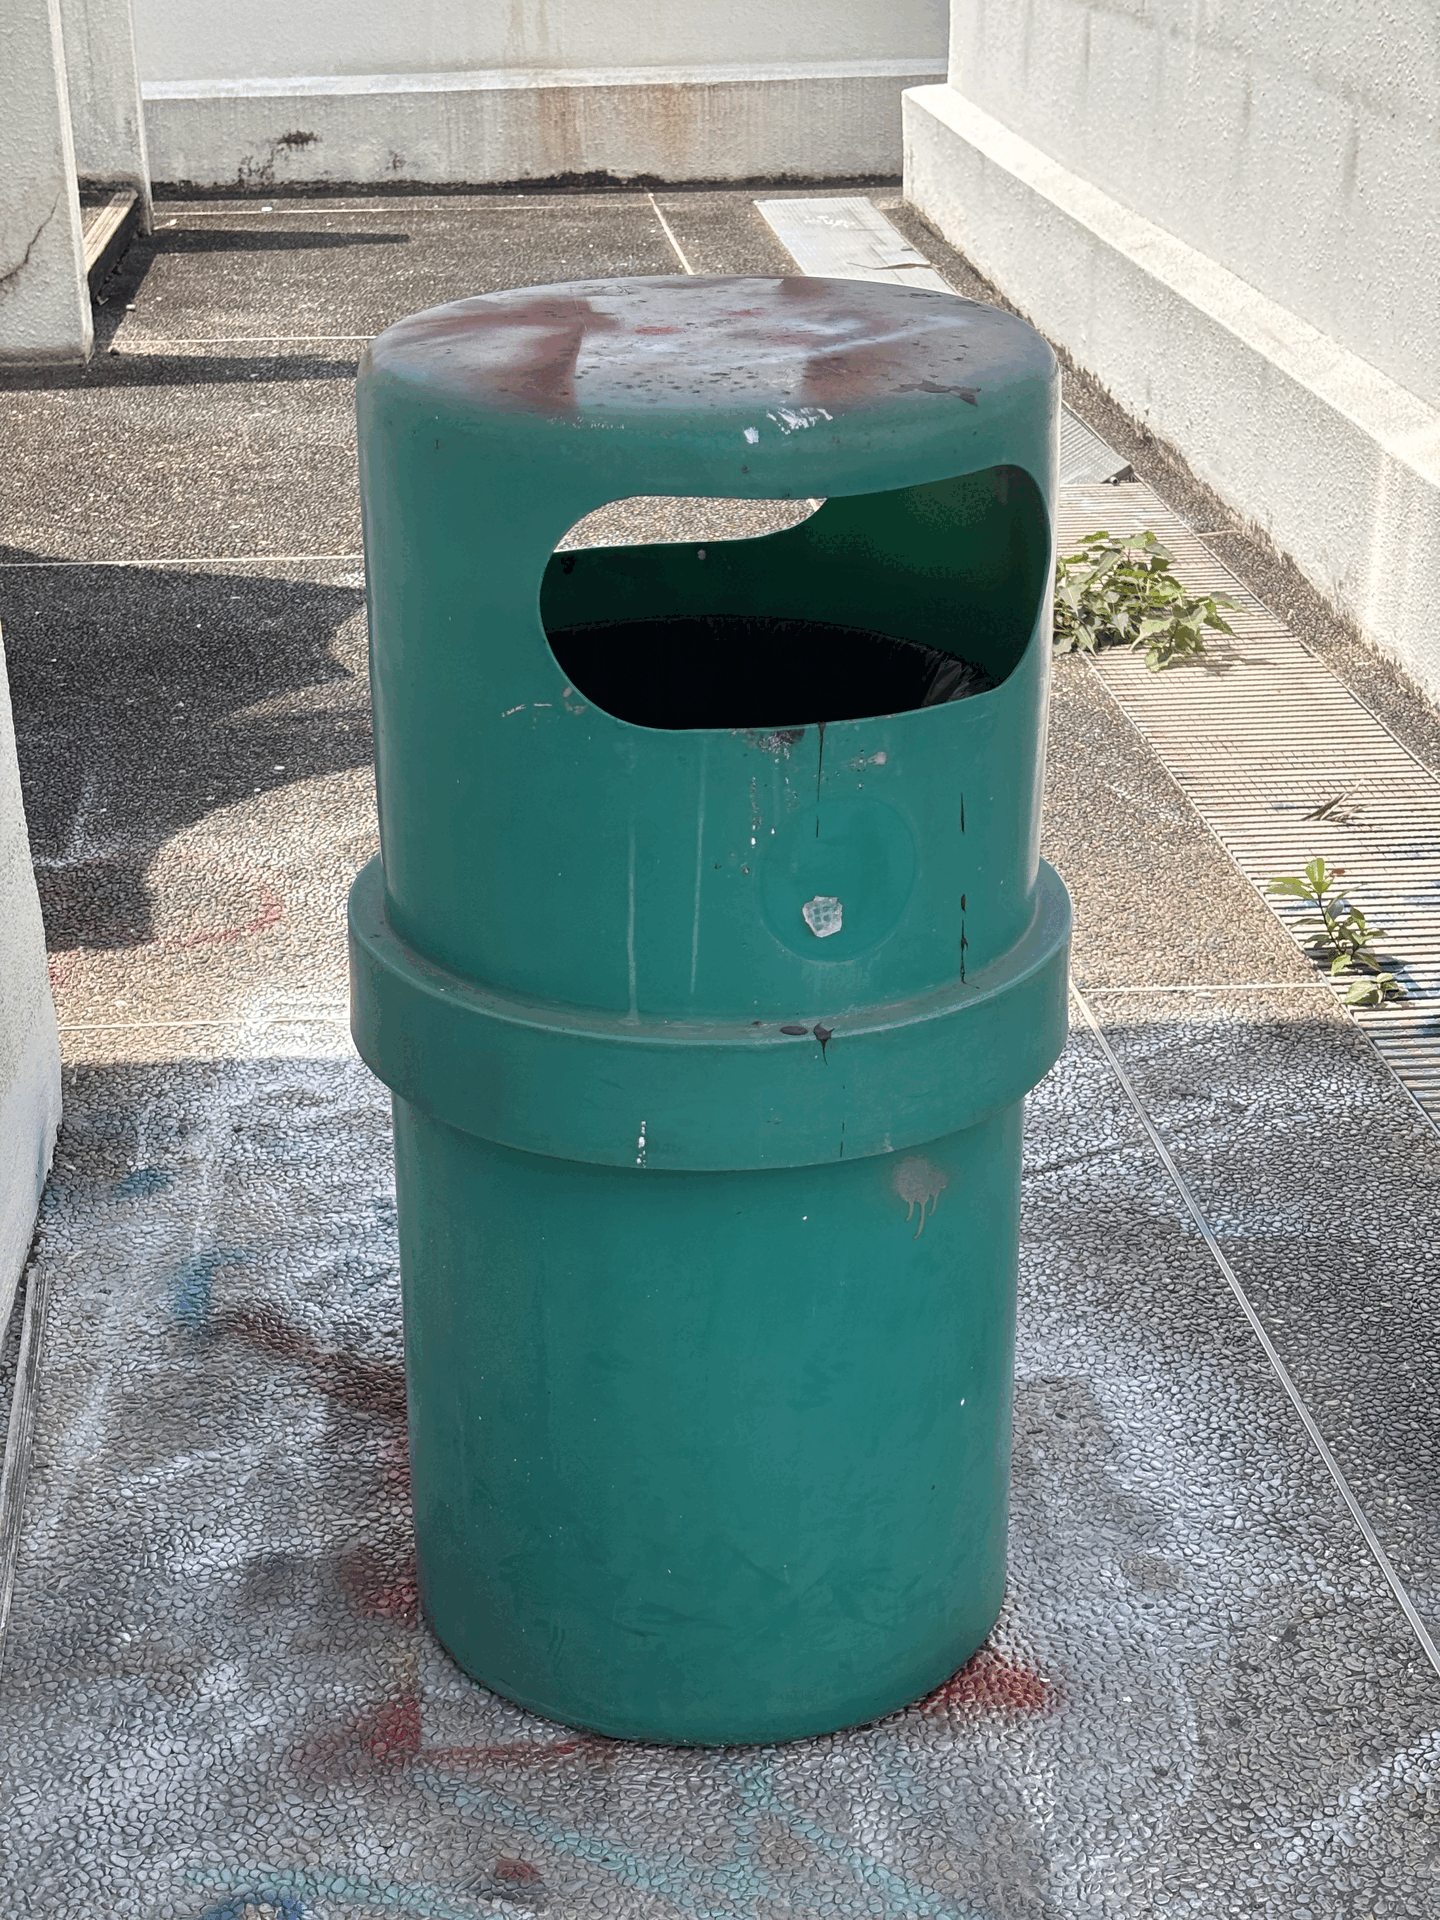
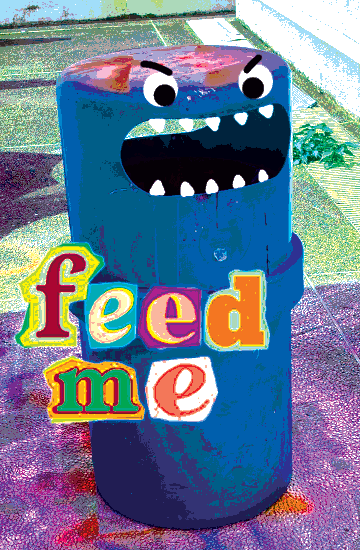
To the salon
In Photoshop I aligned the bins as close to each other as possible and also edited the colours to create this posterise effect. I also drew on the faces to the bin to give it more character. Once done, I applied the pattern mask to each frame to create the stereograph image.


Stereograph Image
I also wanted to try another landscape stereograph, I used this footage of me snowboarding filmed on Insta360. I used GenAI to change the outfit of my snowboarding gear.
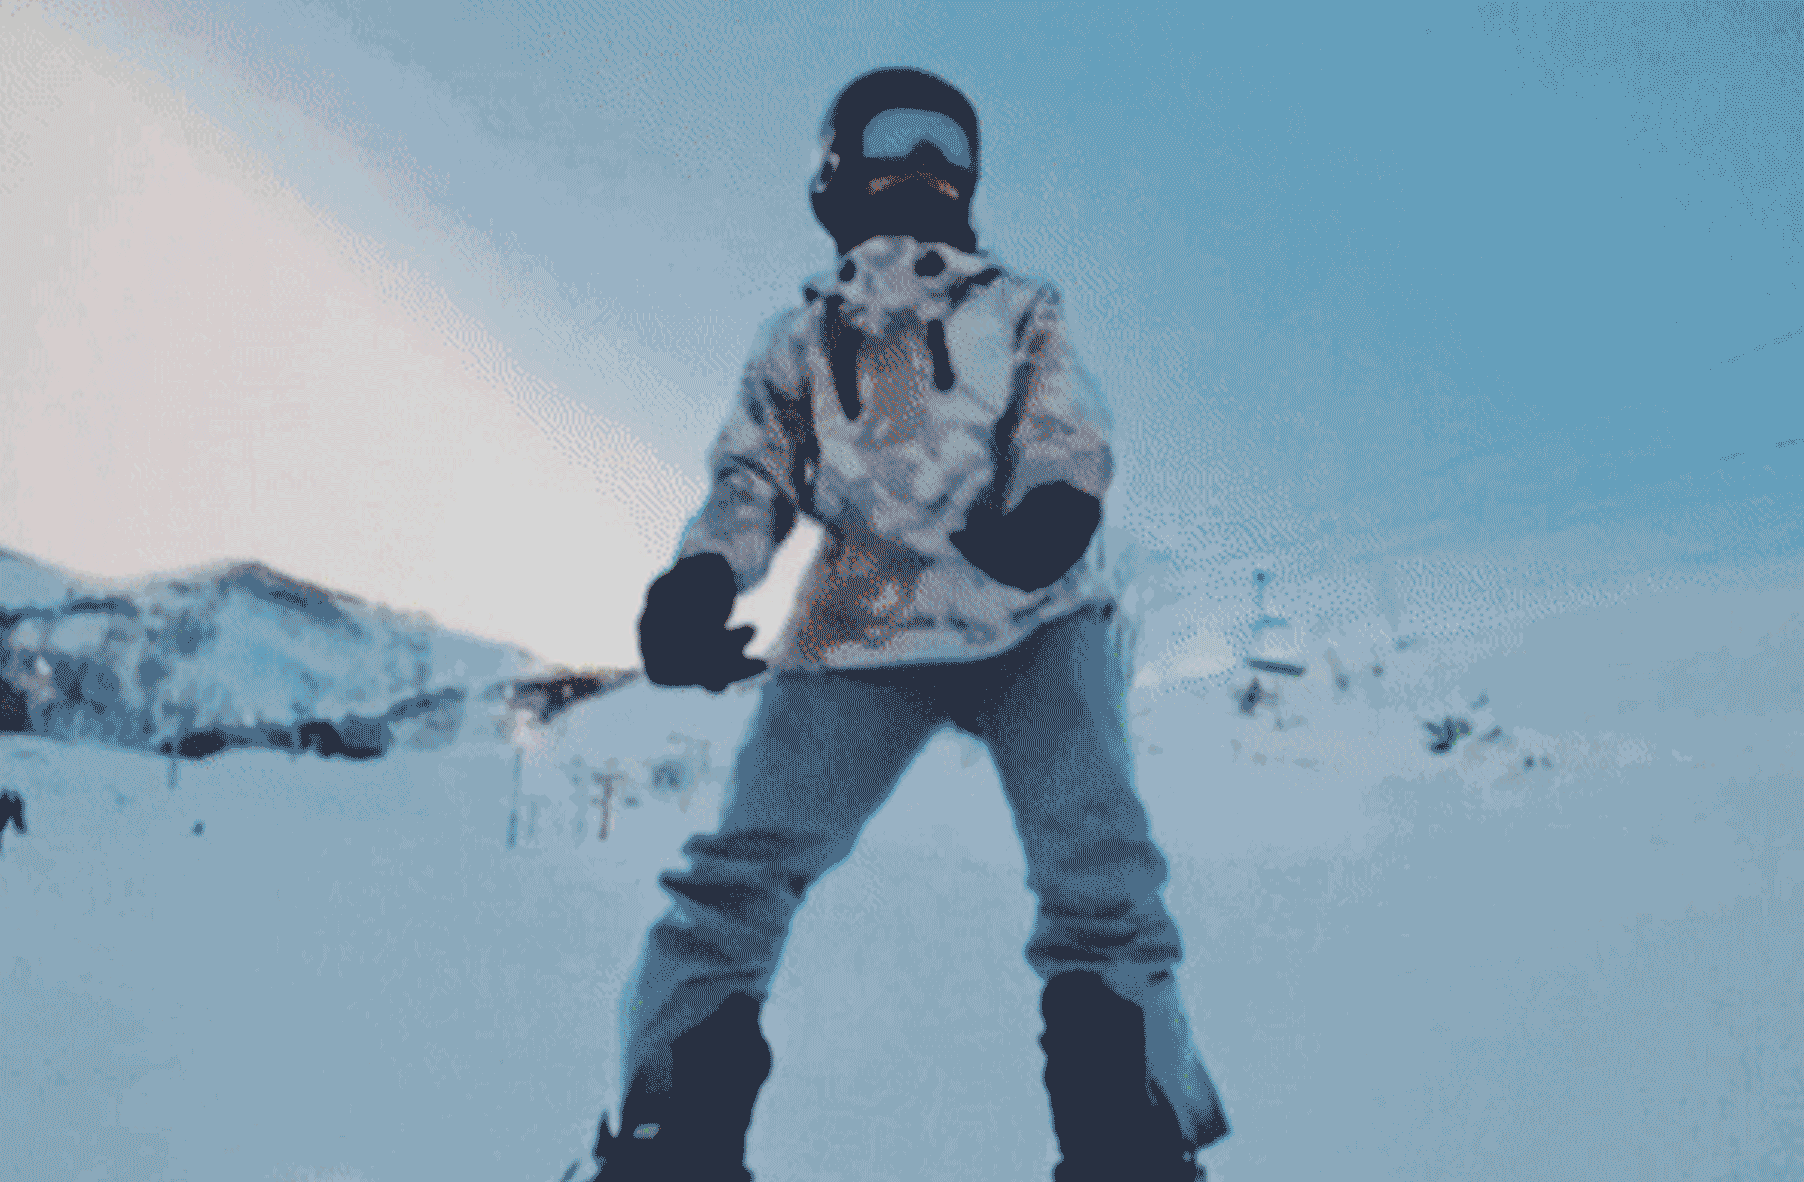


Stereograph Image
Printing Hell
I made a mistake when trying to create the printing file. I should have "Save as" jpg instead of save for web and also open the image + copy the layer to the printing file. I saved for web which resulted in some compression and the image was printed bigger than intended.

Failed Test Prints
After preparing the print file again, I finally managed to print the lenticular prints! It is very rewarding to see how these stereograph animations come to life with lenticular lens. Working with stereographs has been an eye-opening exploration of how we can manipulate movement and depth. From simply zooming in and out to panning from left to right, these movements add life to the static prints.
Final Stereograph Prints
bottom of page